Installing OVOC Server on Microsoft Hyper-V Virtual Machine
This procedure describes how to install the OVOC server on a Microsoft Hyper-V virtual machine.
| ● | Before proceeding, ensure that the minimum platform requirements are met (see Hardware and Software Specifications). Failure to meet these requirements will lead to the aborting of the installation. |
| ● | For details of the installation files, see OVOC Software Deliverables. Before downloading, verify the installation package file contents, see Files Verification. |
| ➢ | To install the OVOC server on Microsoft Hyper-V: |
| 1. | Transfer the Microsoft Hyper-V Virtual Machine installation package that you received from AudioCodes to your PC (see Appendix Transferring Files for file transfer instructions). |
| 2. | Open Hyper-V Manager by clicking Start > Administrative Tools > Hyper-V Manager; the following screen opens: |
Installing the OVOC server on Hyper-V – Hyper-V Manager
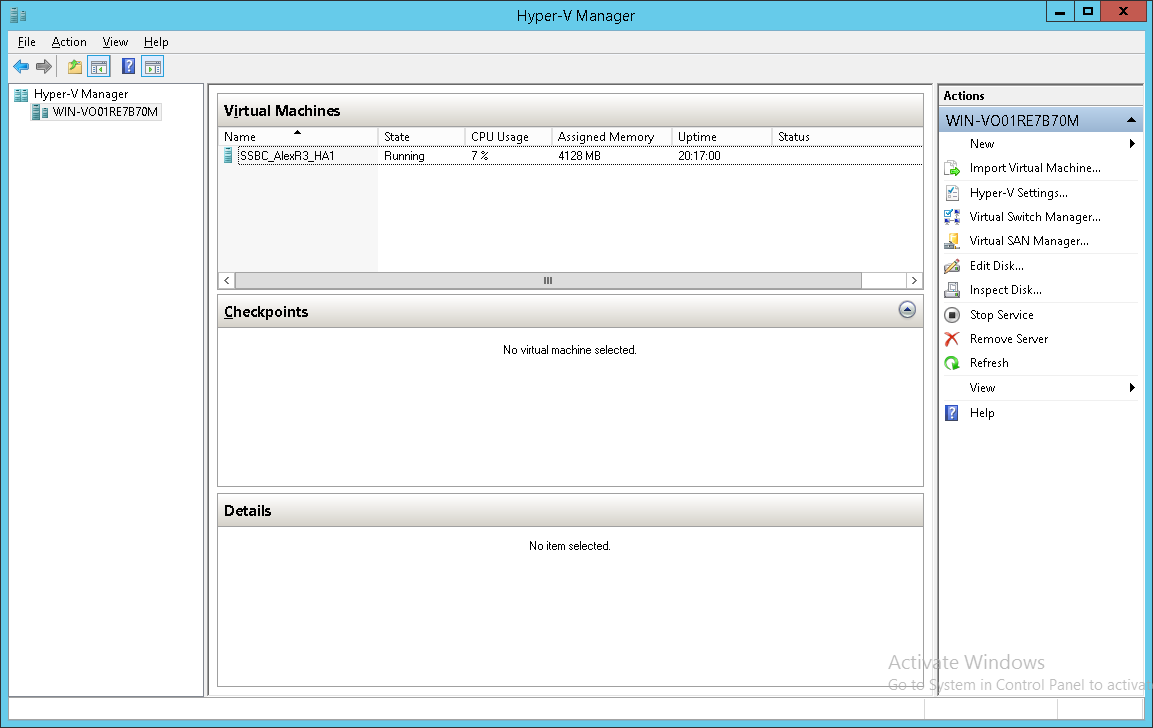
| 3. | Start the Import Virtual Machine wizard: click the Action tab, and then select Import Virtual Machine from the menu; the Import Virtual Machine screen shown below opens: |
Installing OVOC server on Hyper-V – Import Virtual Machine Wizard
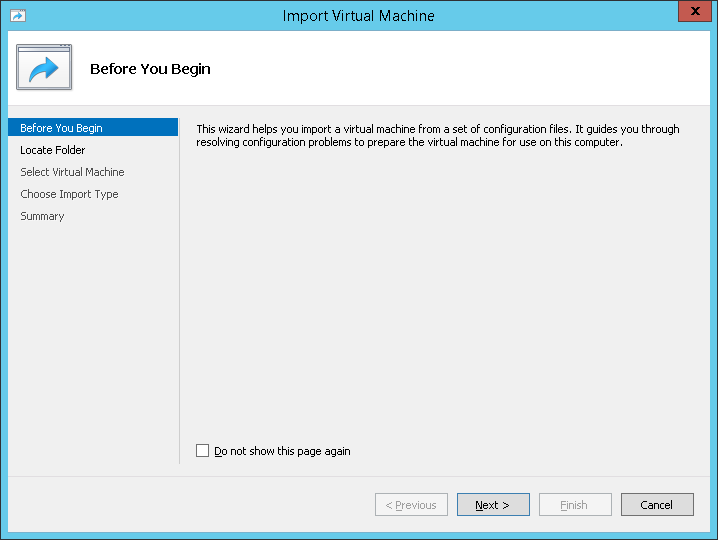
| 4. | Click Next; the Locate Folder screen opens: |
Installing OVOC server on Hyper-V – Locate Folder
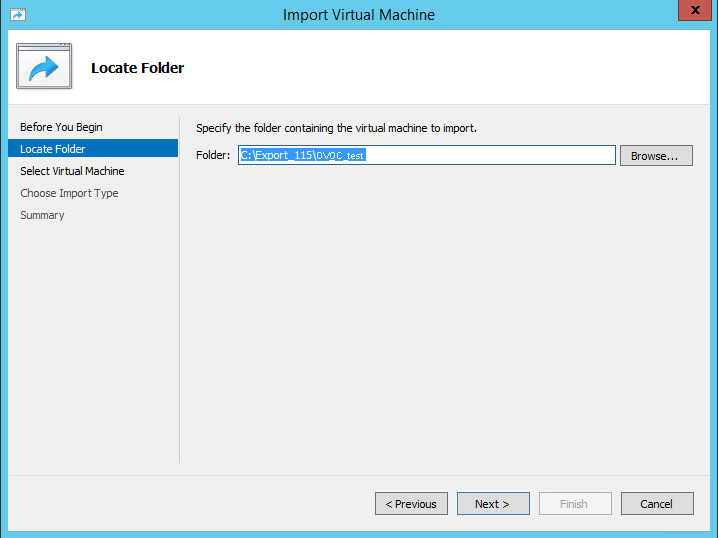
| 5. | Enter the location of the VM installation folder (extracted from the ISO file), and then click Next; the Select Virtual Machine screen opens. |
| 6. | Select the virtual machine to import, and then click Next; the Choose Import Type screen opens: |
Installing OVOC server on Hyper-V – Choose Import Type
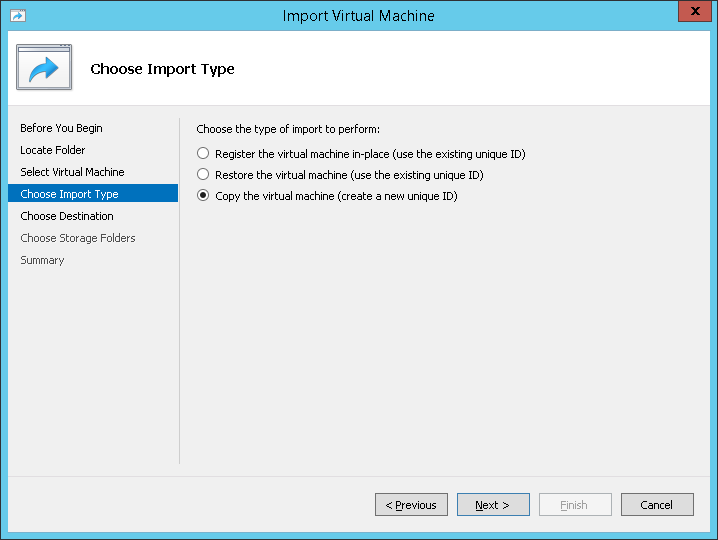
| 7. | Select the option ''Copy the virtual machine (create a new unique ID)'', and then click Next; the Choose Folders for Virtual Machine Files screen opens: |
Installing OVOC server on Hyper-V – Choose Destination
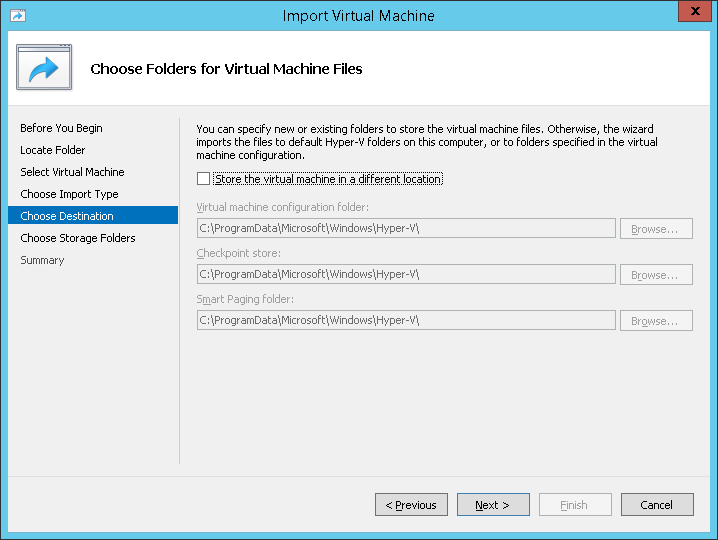
| 8. | Select the location of the virtual hard disk, and then click Next; the Choose Storage Folders screen opens: |
Installing OVOC server on Hyper-V – Choose Storage Folders
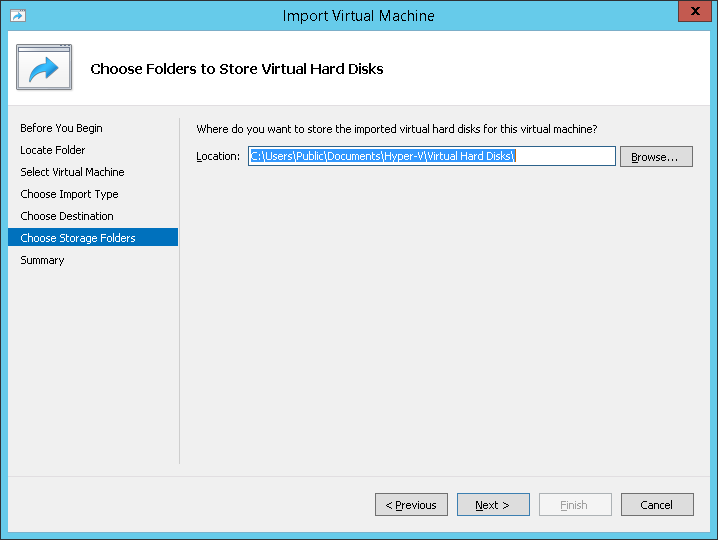
| 9. | Select the Storage Folder for the Virtual Hard Disk, and then click Next; the Summary screen opens. |
| 10. | Click Finish to start the creation of the VM; a similar installation progress indicator is shown: |
This process may take approximately 30 minutes to complete.
File Copy Progress Bar

| 11. | Proceed to Configuring the Virtual Machine Hardware Settings. |